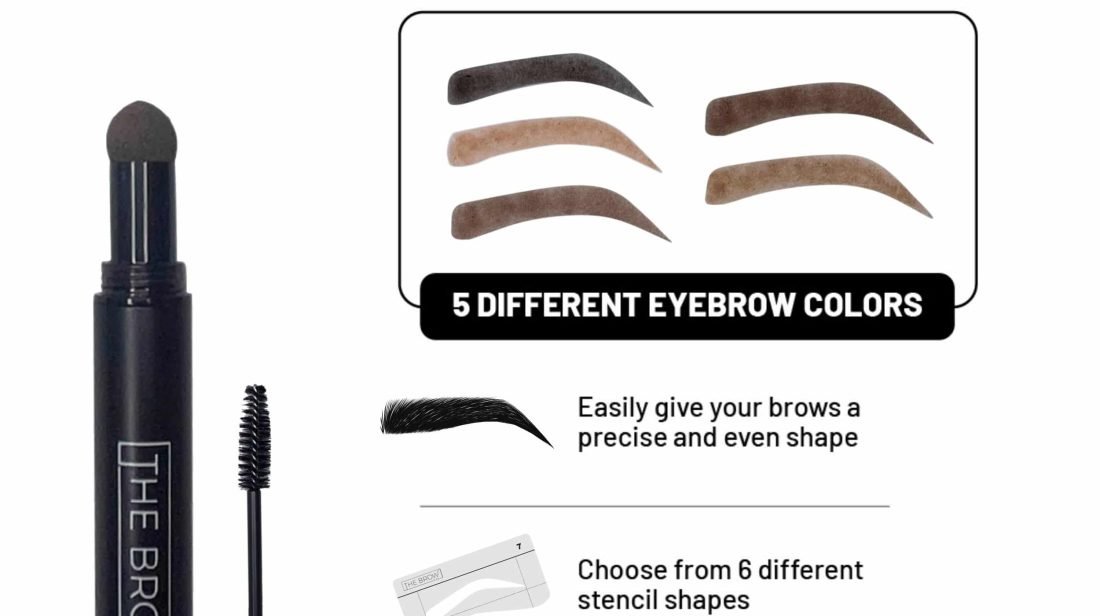
If you’ve decided to join in on the brow stamp trend, you’ve made a great choice! Using an eyebrow stamp and stencil is an easy way to achieve incredible brows that have the perfect shape and color without the commitment of an eyebrow service.
A brow stamps kit usually comes with stencils and tinted brow powder. While one reason for the eyebrow stamp’s growing popularity is how easy it is to use, it can also be done in the comfort of your own home. These simple tips make the process almost effortless and allow you to get the brows of your dreams in no time!
Fool-Proof Brow Stamp Tips
Brow artists and brow newbies love using brow stamps because of how pain-free and straightforward it is. With a few simple tips, just about anyone can apply their stamp like a professional for show-stopping brows that last all day.
Shape matters.
Eyebrow shape is a big deal! Choosing the best brow shape and arch for your face shape is important. The right shape and arch brings out our best facial features and boosts our looks.
It also makes a great difference to have a good balance between your facial features and brows. If you have soft facial features, don’t go overboard with your brows or it may appear too unnatural. If you have strong facial features, don’t make your brows too soft.
Notice the shape of your face to choose the brow shape best for you.
- Round face: thick brows with a high arch
- Rectangular face: subtle brows with a slight arch
- Diamond-shaped face: full, curved brow
- Round face: full brow with a high arch
Shade matters, too.
Like with shape, you also want to select the perfect shade for your stamp. If it’s too light, it won’t stand out enough. If it’s too dark, it’ll look too unnatural. When you purchase your brow stamp kit, you’ll select your color. The Brow Fixx has a color chart guide to help you pick the best shade for you. A rule of thumb is to actually pick a shade or two lighter than your natural hair color.
When you start to use your eyebrow stamp, you can adjust the shade as needed. To darken it, repeat that application process and/or press down hard when applying the stamp. If you want to lighten the color, dab your stamp onto a tissue to get rid of extra product and/or press lightly when applying to your brow.
Use the same stencil.
Don’t be surprised if your brow stamp kit has one stencil. You’ll simply use this for both brows. All you have to do is apply the stencil and color to one brow, wipe the stencil off, then flip it over and use it for the other brow.
Brows shouldn’t be identical.
One common brow stamp mistake is trying to make your eyebrows identical. Always remember that ‘brows are sisters, not twins!’ While you want your brows to be similar, they don’t need to be the exact same position, shade, and shape.
You actually use it like a stamp.
You do, in fact, apply your brow stamp by dabbing the color onto your brow line. After your stencil is in place, start at the tail of your brow and work your way to the base with the color. You’ll blend the color in once you’re all done (continue reading to learn about that).
It’s okay to practice.
As with anything, applying your brow stamp and getting it right may take some time. While eyebrow stencils are one of the easiest beauty products to use, you may need to practice holding it still and getting the color right. If you mess up, all you have to do is wipe the product off and repeat. In no time, you’ll have the process down to get fabulous brows in minutes.
Expect full brows.
Whether you have thick or barely-there brows, an eyebrow stamp gives a fuller and more dramatic-looking brow. If you prefer a more subtle look, the microblading brow pen could be for you – it gives the look of a precise but natural brow.
Tweeze stray hairs after application.
We highly recommend never going overboard with the tweezers. In fact, the days of over-plucked brows are a thing of the past. It’s best to let your brows grow and only tweeze stray hairs outside of your brow line.
If you apply your eyebrow stamp and love your new shape, you can pluck your unwanted hairs that are outside of the stencil shape. Over time, this can help your natural brow grow in the way you like it.
Groom your brows after stamping.
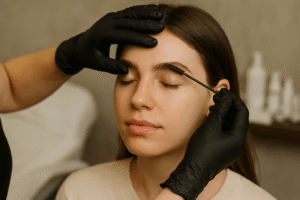
After you apply your brow stamp, you’ll have a precise shape and a shade that stands out. That doesn’t mean you can’t take it up a notch for a little extra grooming. After you allow your stamp to set, you can brush your brows with a spoolie to blend the color and finish the look. If you want to give your brows the perfect fluff and hold them into place, apply a brow soap.
Remove like the rest of your makeup.
Cleaning your brow stamp off works the same way as the rest of your makeup. After you’ve worn your fabulous brows for the day, use your makeup remover or soap and water to wipe your brows clean.
You can use your stamp kit after a brow service.
Some people wonder if they can still use their stamp after they receive a brow service like eyebrow waxing, threading, or lamination. And, you can! Even if you get your eyebrows professionally groomed, you can fix them up each morning with your stamp kit.
Final Thoughts
Using a brow stamp kit is doable for anyone – especially with these simple tips for perfecting it! Get ready to achieve beautiful Instagram-worthy brows in no time!
To learn more about what a brow stamp is, check out this bow stamp Q & A for all the details!


